We shared our work and our fair city with a conference of book artists (CBAA) earlier this year. Being with them reminded us of the fun of one-sheet books. So, we designed and printed one.
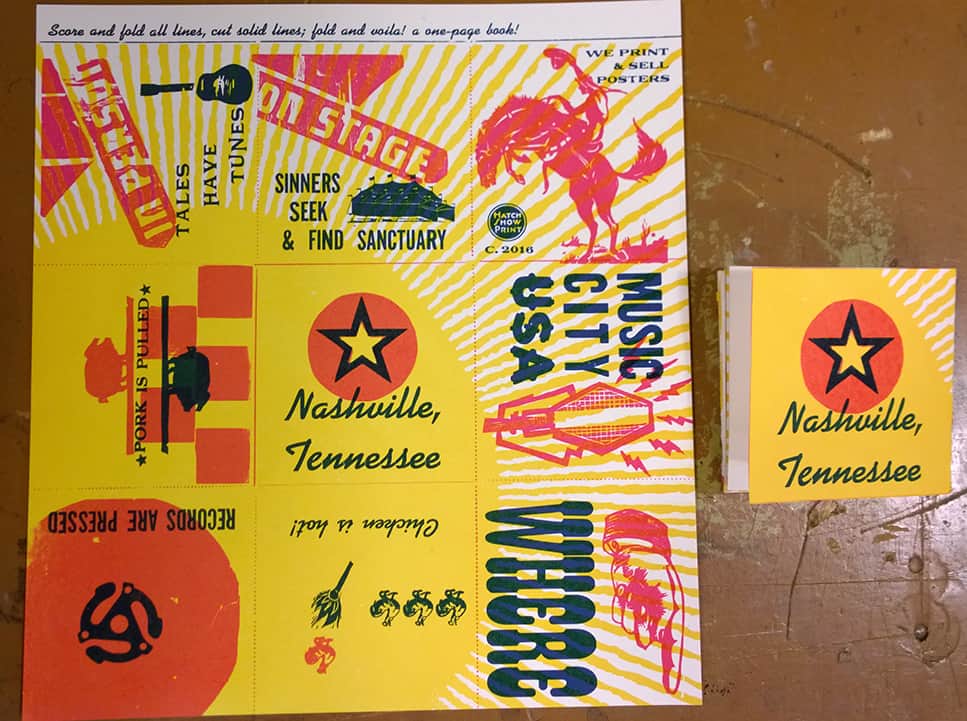
These are for sale in our retail shop, if you enjoy posters that can also be books.
Making a one-sheet book can be as simple as folding a piece of paper in half. Adding a few more folds and cuts produces a book with a cover panel and eight pages, such as the book we made.
What follows are instructions for some quick and easy ways to make your own books, either with the story already in them or empty, waiting to be filled with the story as it happens or as you make it up.
Ready? Let’s go!
Start with a diagram of the book that you’d like to make, so that you can lay out the pages in the correct order, and with the proper orientation
Here’s the diagram we used to make our book:
You can find more book diagrams on the Internet. A couple of the shop’s favorite books are Making Handmade Books, by Alisa Golden, and How to Make Books, by Esther K. Smith. Both of these books include simple one-sheet book instructions, along with instructions for other, more complex book structures.
If you are trying a new book form, it’s a good idea to make what’s called a dummy, a sample of the book you want to make, before you put in all the words and pictures, so that you can practice cutting and folding it, and better understand how it will work as a book. This mockup of the book can also help you determine if you need to make a bigger or smaller book, and you can keep it handy for future book-making fun.
To remember how to lay out our book design, we used a rubber stamp of one of our favorite manicules in the collection to point toward the top of each page, and we put a big ”C” on the cover:
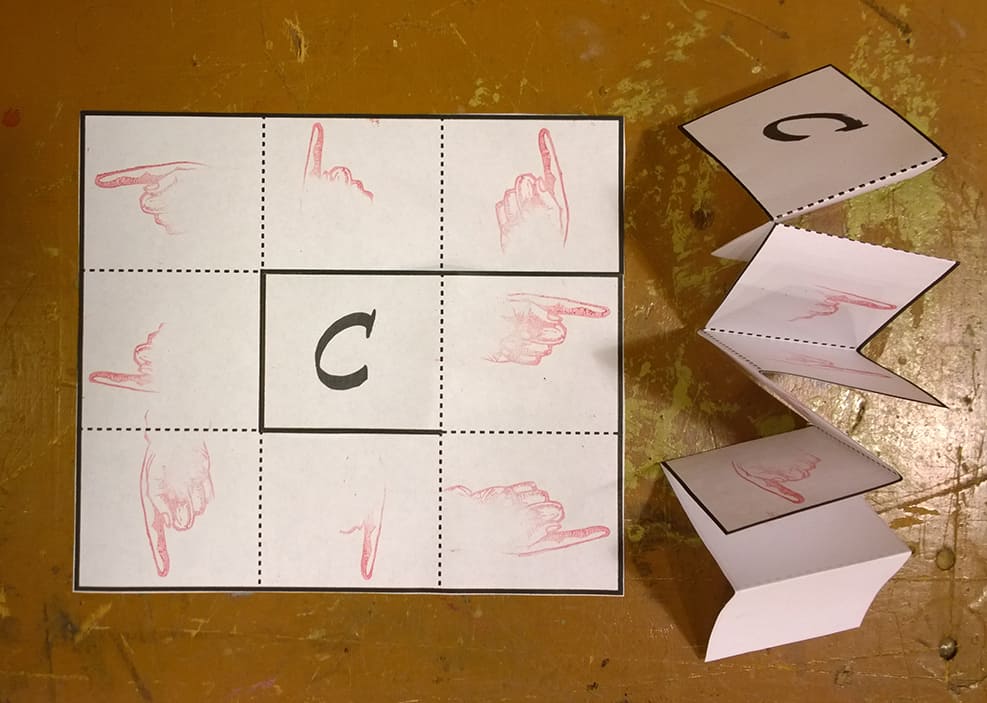
Note that in all of the diagrams, the solid lines are lines that will need to be cut, and the dotted lines will need to be folded to create the pages of the book.
Because letterpress printing uses one color at a time, one piece of paper at a time, we locked up all of our imagery together to print in a warm red, and we typeset the copy together to print in dark blue, and after printing one big background sun, we added each layer to our print.
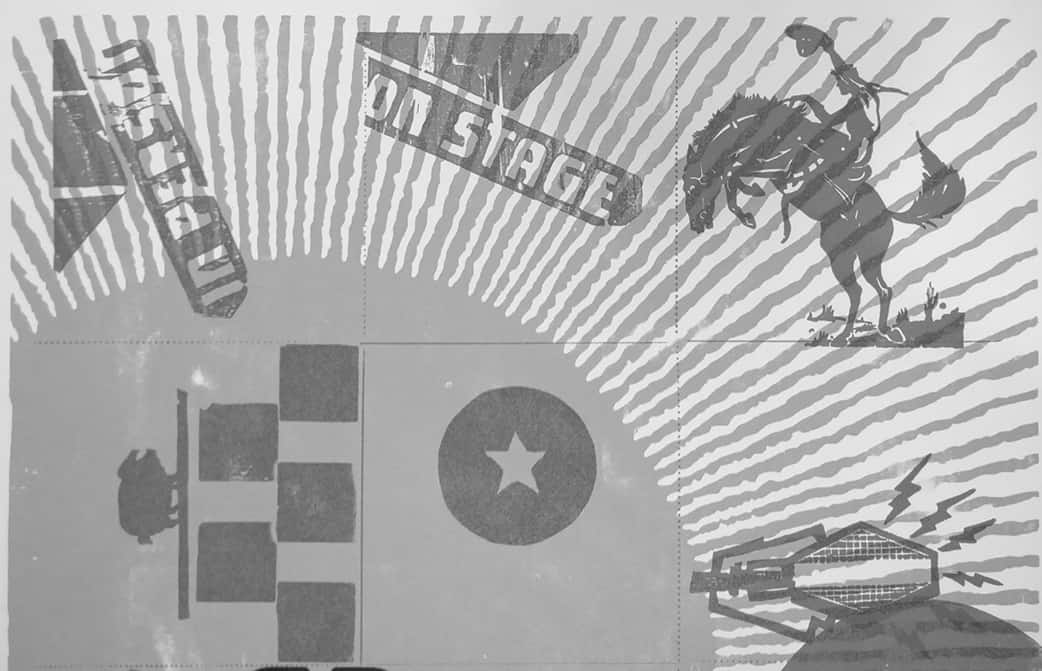
The images were all printed in red.
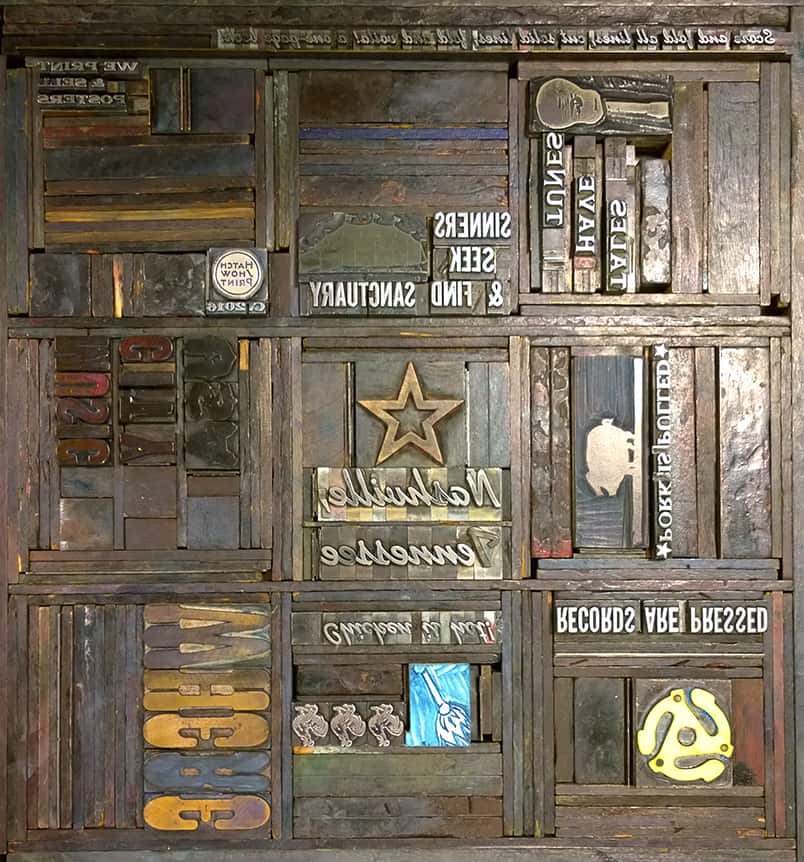
The type had to be oriented so that it reads properly when the book is all folded up.
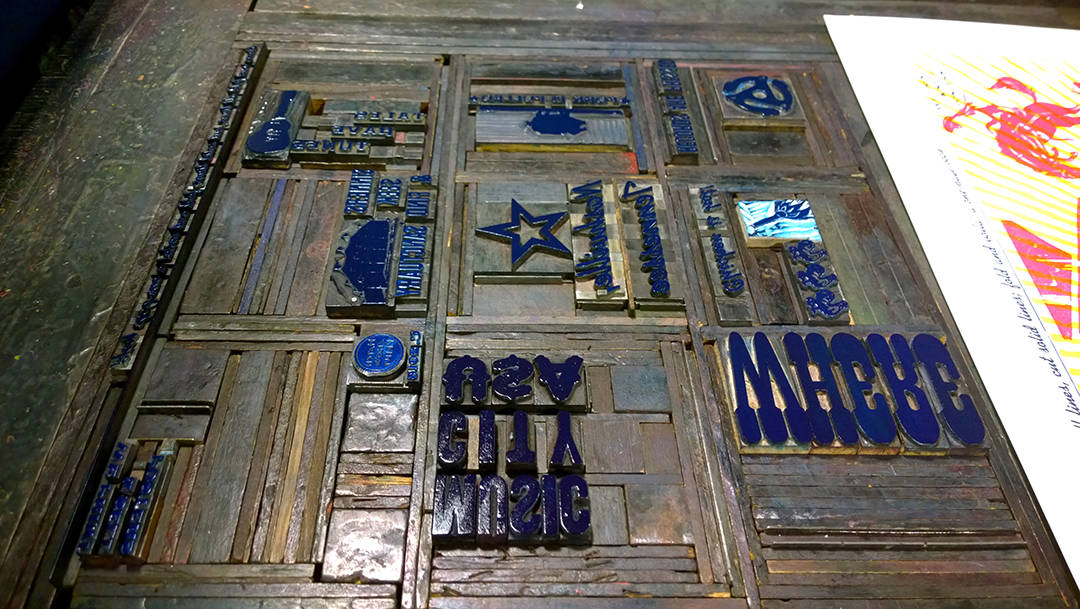
The type all inked up and printing!
Letterpress printing is just one way to fill the book. Choose whatever medium or process you enjoy, and have fun.
If you wish to change the size of the pages in the book (our template makes a square book, 2 ¼ inches on each side) you can scale the size of your book(s) to whatever size you wish. For example, the template we used creates a book that has square pages, but they could have been rectangular—you just have to make sure that the height and width of each page are the same.
The book you design and make can be one-of-a-kind, or, if you make multiples of the same book, such as we can and do with letterpress printing, it becomes an edition. Either way, you are now a book maker.
A diagram used to design a book with content also can be used as a guide to create a blank book out of any beautiful piece of paper. This book without a story can become whatever you want it to be.
To get started, choose your paper. At the shop, we have what we call makereadies, or test prints, which we use to check print quality of each layer of a poster. Often, many layers from different posters wind up on each makeready. The results of over-printing can create gorgeous color combinations, such as those on the makeready used to make this simple book.
Here’s the book diagram or template:
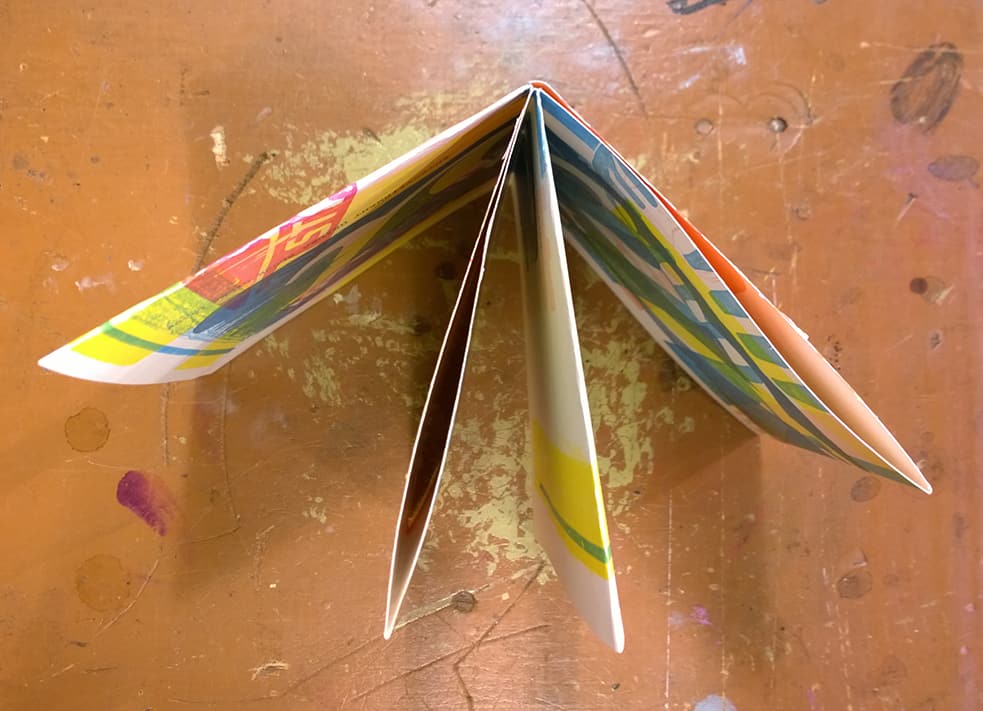
And here’s the cut and folded book:
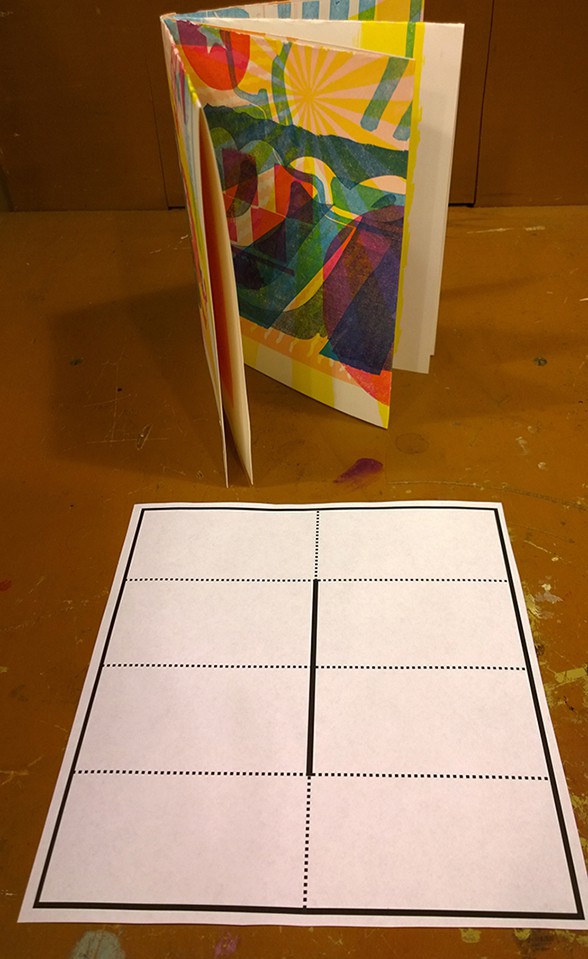
The template with the cut and folded book.
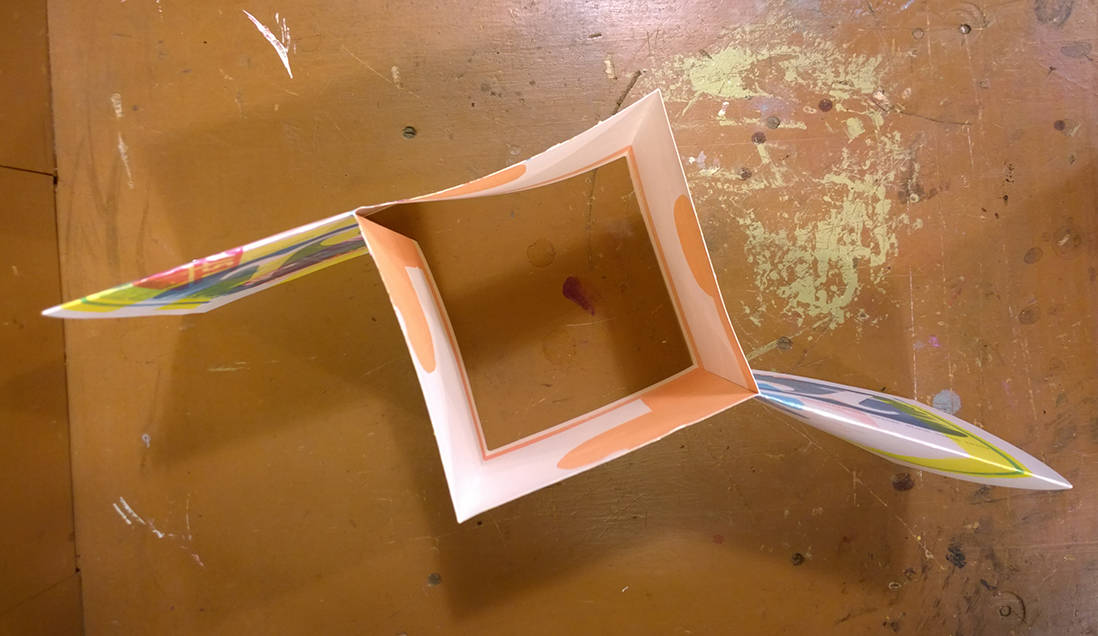
A top view of the partially folded book, to show how the cut allows the book structure to fold into place.

Another top view, with the book fully folded into its final shape.
You can see that while the book follows the pattern: four folds and one cut, in the middle, the size is very different. And it still works.
With a little supervision, this would make a great spring break activity, or it could keep small hands busy during a long car ride.
